The Kodi build which is a world popular referred to as the Beast Build which is compatible with all contents from the UK and the USA regions. At the earlier stage, most of the users got confused about the complete features offered by Kodi add-ons. Since there are numerous best Kodi add-ons that are extremely popular is available through the online platform.
But the main concern is to choose the best one that can fulfill your requirements. In an earlier stage, this could be a dilemma. However, I realized that the best recommended Kodi add-ons will completely suit the best Kodi build. Here we are going to talk about how to install The beast build on Kodi 18.2 Leia. Actually, there are two different beast build available: The Beast Kodi Build UK and The Beast Kodi Build US.
What is The Beast Build?
Contents
When compared with other builds and add-ons, the Beast build is something different. Initially, it is mandatory to register through the online platform to install the Beast Kodi Build on either Kodi 16V Jarvis or 17V Krypton. Many Kodi users get confuse when it comes to sign up for the best Kodi build. You can just follow the on-screen instructions to register for beast Kodi build and verify your account details.
After your successful login, you can view the available Beast Kodi repository. The servers are based on USA and UK region. Depending upon the location, the users have to login or register to their respective domains:
UK Users – http://thebeast1.com
US Users – http://thebeast2.com
The Beast Kodi build login procedure is very simple, you need to input account name, a password and a valid email address and then click on the Register button. The website will refresh and prompt the users to enter their login details that you had provided during the registration.
After your email address verification, you can continue with the installation. You can search and locate the verification bar to verify your email address. Click on the Verification link and re-login. A pop-up message will appear stating that your account is now verified.
How to Install The Beast Build on Kodi 18.2 Leia
Please follow the below steps to install the Beast Build on Kodi 18.2 Leia. Well, this method also works for Kodi 17.6 krypton and Kodi 18/18.1 Leia.
- Launch the Kodi 18.2 application and access the File Manager from the Settings menu.
- Choose the option Add Source and click on the None button.
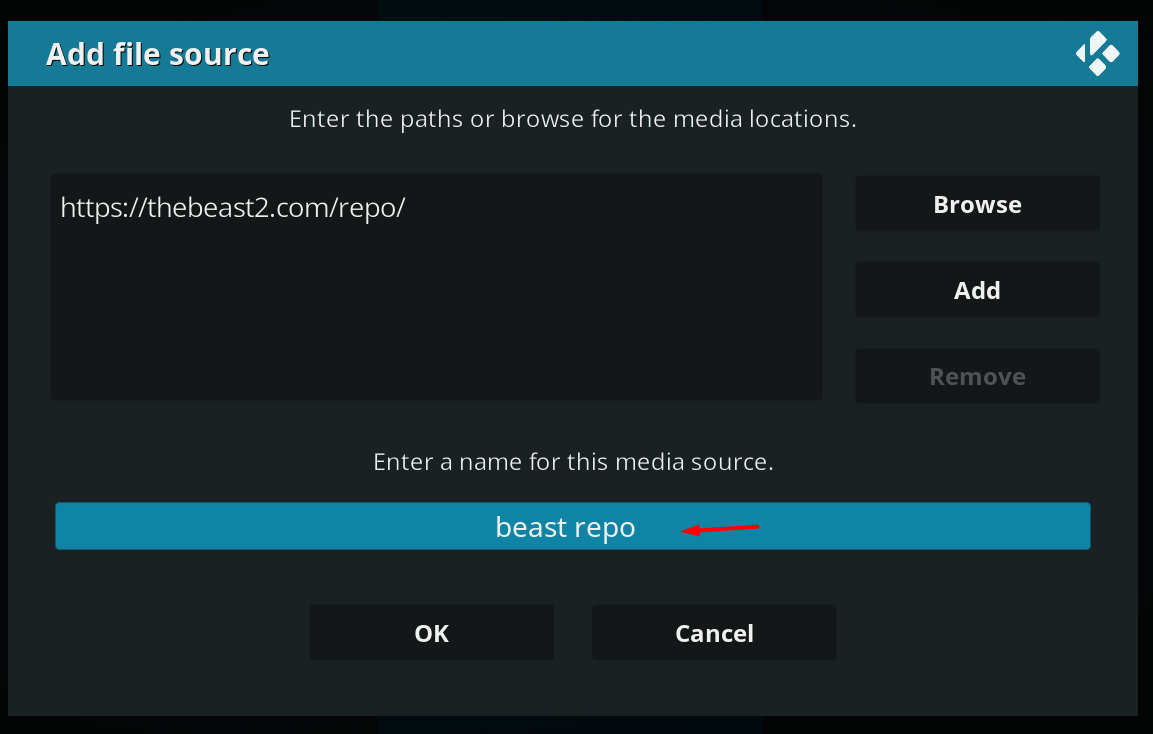
- Then, enter the web URL https://thebeast2.com/repo/ and click on the Ok button.

- Now enter the media source with your preferable name (for e.g. Beast Repo) and click on the Ok button.
- Navigate back to the Main screen by pressing the ESC key on your keyboard.
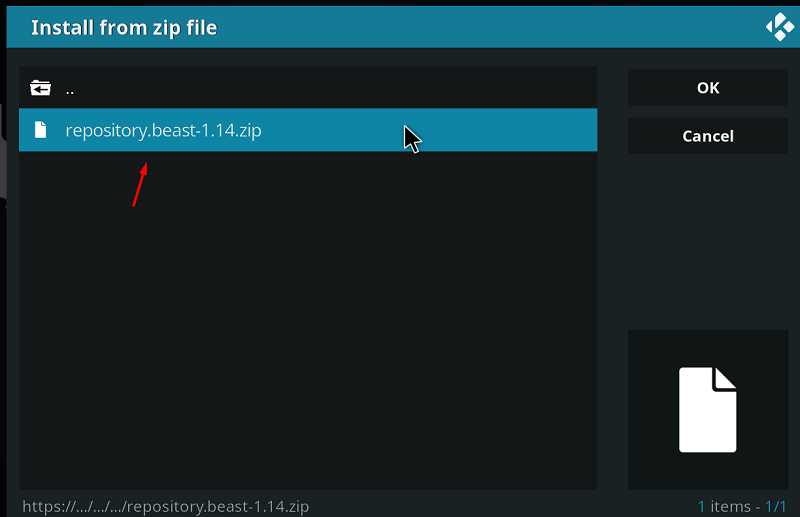
- Click on the Addons button and choose the option “Installation from Zip file”.

- Then, choose the media source file (for e.g. Beast Repo) and access the repository.beast and select the repository file named repository.beast-1.14.zip.
- Now, select the option “Installation from Repository” and access the file Beast Repository.
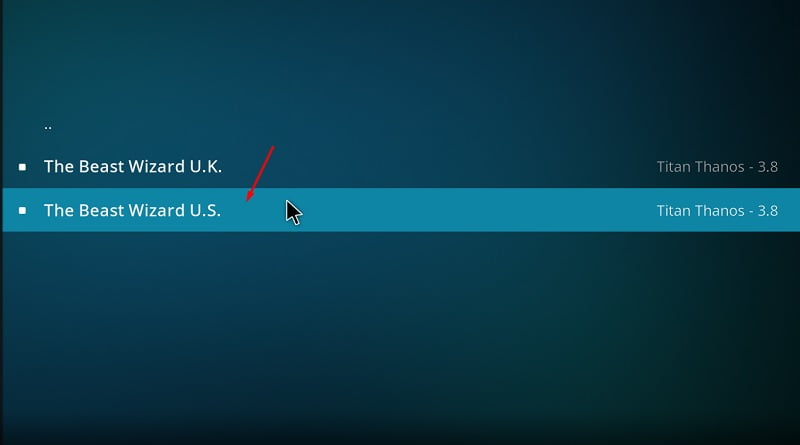
- From the Program Add-ons, select the Beast Wizard U.S. (which is the US-based server)
- Choose Beast Wizard U.K If you want to connect UK server but here I will choose the U.S.
- click on the Install button to start the installation process. Please wait for a minute and a pop-up message will appear.

- Return back to the Main screen and click on Add-ons menu and choose the My Add-ons section.
- Select the Beast Wizard U.S. from the Program Add-ons option.
- Now click on the “[Build Installer] Builds”.
- Click ‘Enter Details’ (Email address and your account password for Sign-up process).

- Now, you can enjoy and make use of the Beast Build. Your favorite content can be enjoyed by choosing the Beast Kodi add-on from the Main menu under Add-ons.
Installation of Beast Build on Kodi V16 (Jarvis) or Lower Versions
Please follow the below steps to install the Beast Build on Kodi V16 (Jarvis) or lower versions:
- Launch the Kodi Jarvis application and access the File Manager from the System menu. Choose the option Add Source and click on the None button. Then, enter the web URL http://thebeast2.com/repo and click on the Ok button. Navigate back to the Main screen and choose the Add-ons option from the System menu.
- Click on the Addons button and choose the option “Installation from Zip file”. Then, choose the Beast Build Wizard and select the repository file named repository.beast-1.14.zip. Click on the Ok button and wait for a minute to get the notification.
- Return back to the Main screen and click on Add-ons menu and choose the My Add-ons section. Select the Beast Wizard U.S. from the Program Add-ons option and login with your Beast account (Email address and your account password for Sign-up process).
How to Install The Beast Build On Firestick
- Please access the Kodi application on your Firestick device and choose the System option from the Settings Menu. Navigate to the Developer options, and then turn on the Unknown sources named as “ADB Debugging & Apps”.
- Again access the Kodi application and click on the File Manager option from the Settings Menu.
Important – Make sure you have already Installed the latest version of Kodi 18.2 on Firestick. Check out this guide to install Kodi 18.2 Leia on amazon firestick.
- Click on Add source and select None
- Now follow steps 3 to 14 from the above guide to install Beast build on Firestick.
Conclusion
We are happy to inform that the above-provided information helps you to understand The Beast Build and its importance. You can also follow the detailed installation process to install the Beast Kodi Build on your Kodi application with multiple versions and as well as on your Firestick device.
